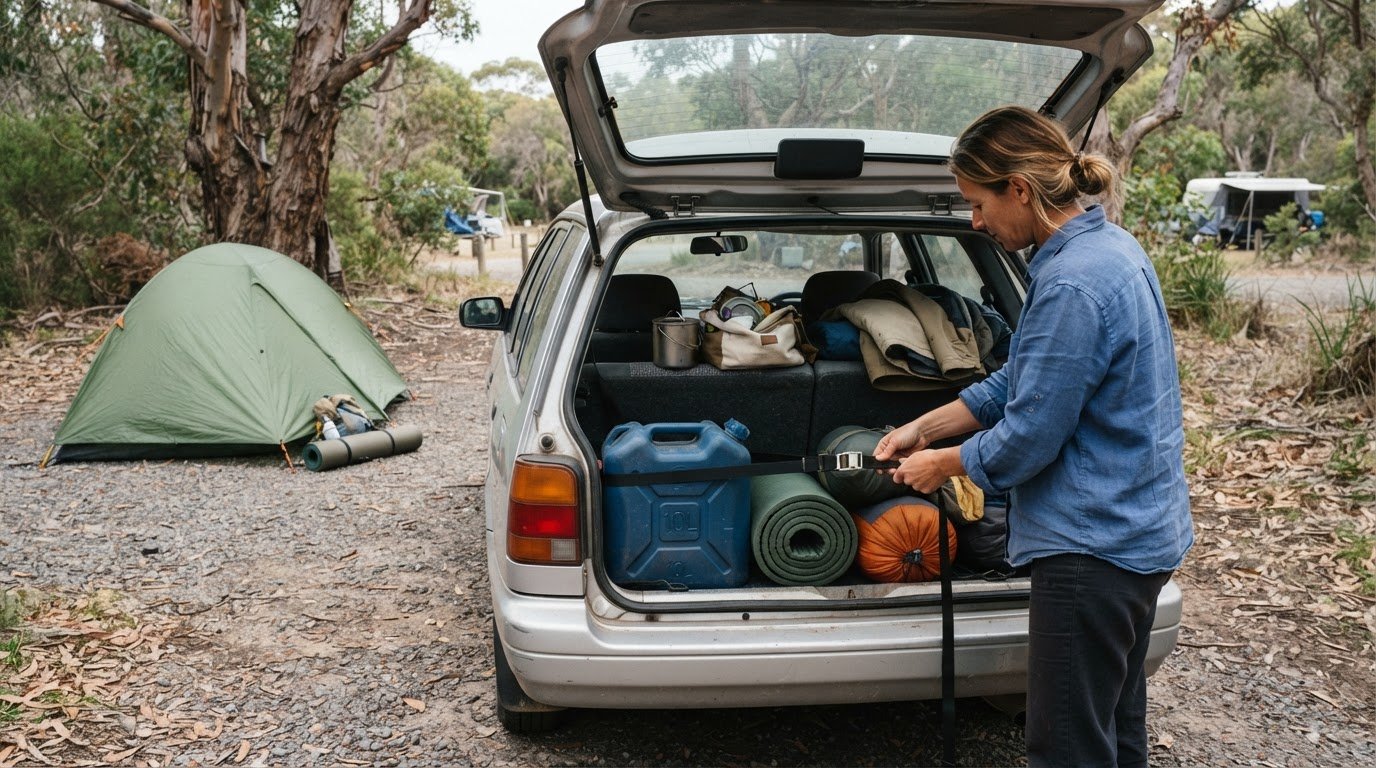
A lighter camp kit starts with gear that suits your trip, not a pile of extras. Choose cheap road trip gear for shelter, sleep, cooking, lighting and power, and skip items that do the same job. Keep heavier items low and secure in the vehicle to help manage the load.
It’s tempting to buy everything before you leave, but you can build a useful setup over time. Start with a tent that suits your group and expected weather, plus a sleeping bag and insulated sleeping pad. Add kitchen, lighting and power gear based on how you plan to camp. This guide covers what to look for, how to manage weight and how to build your kit in practical stages, so you spend less without filling the car with things you won’t use.
Key Takeaways
- Choose shelter and sleep gear for your group, likely weather and the space it takes to pack away.
- Build your kit in stages, prioritising the essentials before adding gear for less common needs.
- Match camp lighting and portable power to what you need to illuminate and charge, so you carry less unused equipment.
- Plan food storage and drinking water around your route, trip length and chances to refill along the way.
1. Camping shelter, sleep and kitchen gear
Choose a tent that fits your group and the weather you expect on your camping trip. A shelter that’s easy to pitch and pack away saves effort at camp and fits more easily into your touring setup. Practise setting it up at home before buying, and check that its packed size works with your boot space and other gear.
A 270-degree awning can add flexible shade and cover beside your vehicle. It may suit longer stops where you cook or sit outside, but its size and packed weight matter on the road. If you’re building cheap road trip gear on a budget, consider whether an awning solves a real need before adding it.
For sleeping, pack a sleeping bag and an insulated pad. The bag helps keep you warm, while the pad separates you from the ground. Earplugs are an optional comfort item for noisy campsites. Keep bedding in an easy-to-reach bag, so setting up after a long drive doesn’t mean unpacking the whole vehicle.
A portable stove and compact cookware can handle simple meals without a bulky kitchen. Match the stove to the way you plan to cook, and pack only the pots, utensils and plates you’ll use. Bring extra gas canisters for longer trips. Keep matches dry and store cooking supplies together, so everything is ready when it’s time to make dinner.
Pack hygiene basics such as a quick-dry towel, toothbrush, soap and a small rubbish bag. Reusable containers and cutlery help reduce disposable packaging. Take all rubbish with you and leave your campsite tidy. These simple supplies support low-impact camping without adding a complicated system.
Load touring gear with access and weight in mind. Put heavier items low and secure, and group shelter, bedding and cooking equipment by task. A headlamp keeps your hands free when pitching a tent after dark. Pack it where you can reach it quickly, rather than burying it under kitchen gear.
2. Affordable budgeting and gradually building a gear kit
Set a total gear budget before shopping, then divide it by priority. These figures show why it helps to separate essential camping items from vehicle upgrades and optional extras.
Start with what makes your next trip possible: a place to sleep, a way to prepare meals, and basic lighting. Use items you already own where they work. A household saucepan or spare blanket can serve on an easy first trip, leaving room in the budget for equipment suited to Australia’s weather and the tracks you plan to drive.
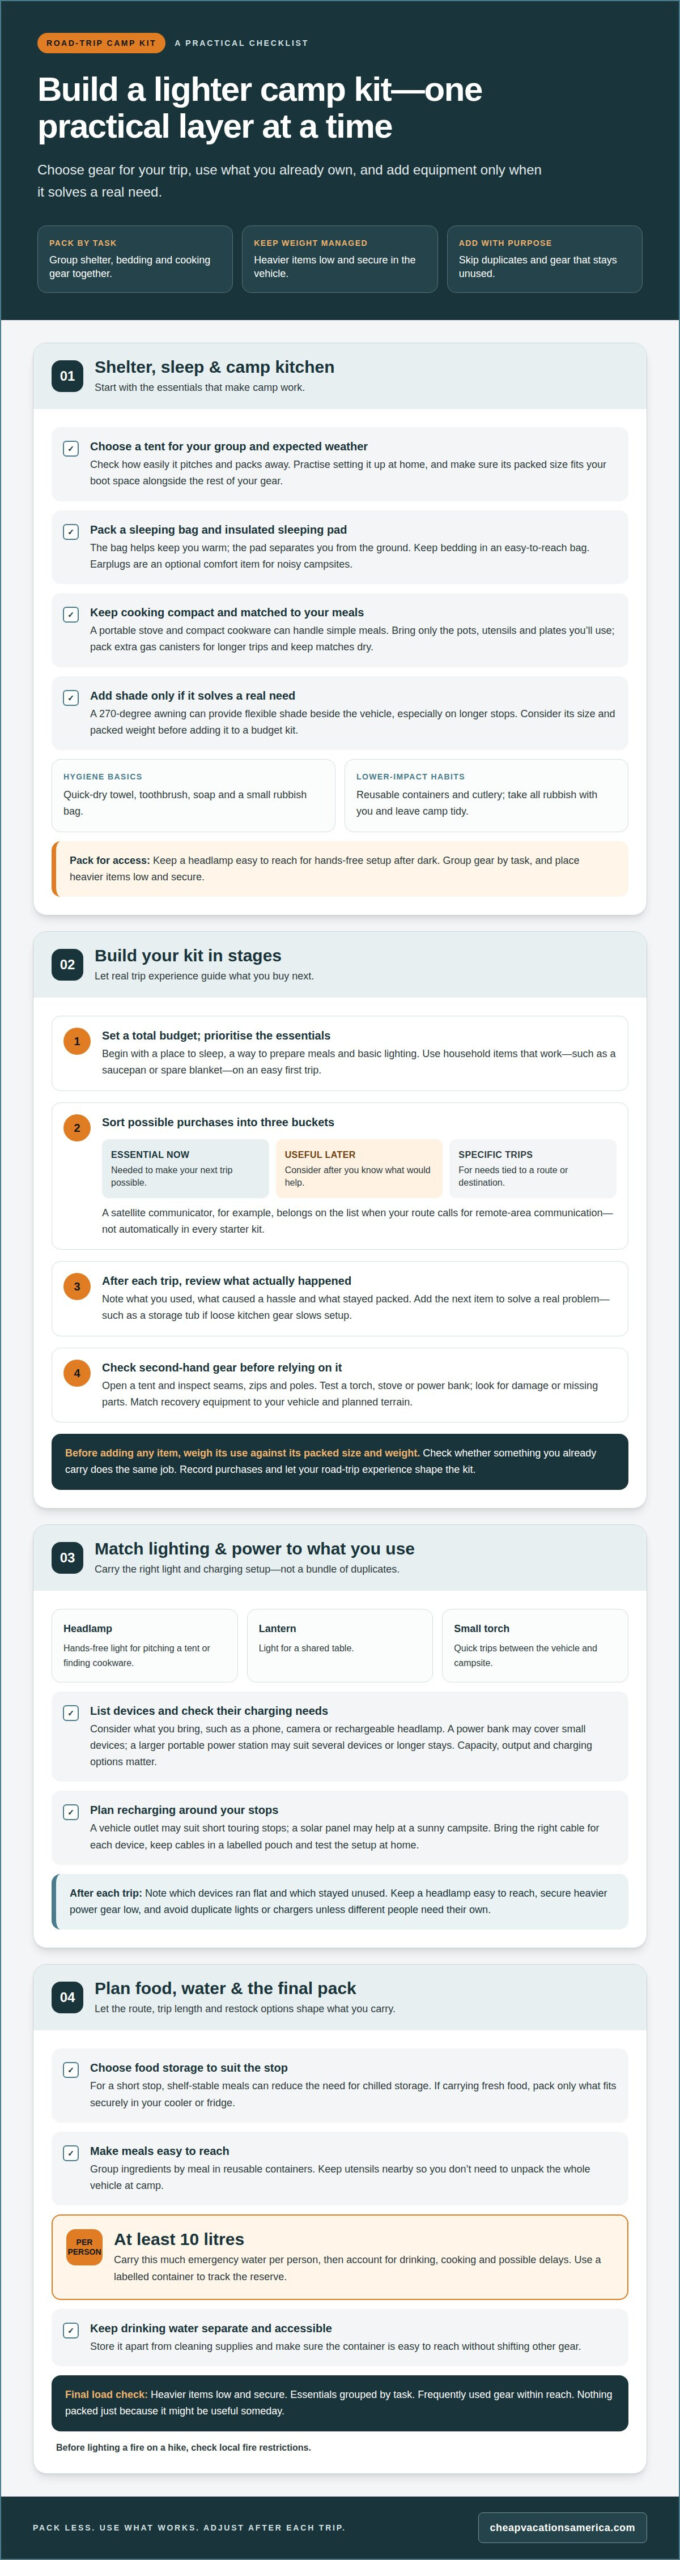
Build your kit in stages. After each trip, note what you used, what caused a hassle and what stayed packed. Buy the next item to solve a real problem, such as a storage tub if loose kitchen gear slows camp setup. This review helps prevent duplicate purchases and keeps your kit suited to how you actually travel.
Keep a list with three columns: essential now, useful later and only for specific trips. A satellite communicator, for example, belongs on the list when your route calls for remote-area communication, not automatically in every starter kit. Route length, access to services, weather and vehicle space all affect which upgrades to prioritise.
Second-hand gear can stretch your budget, but inspect it before relying on it. Open the tent and check its seams, zips and poles. Test a torch, stove or power bank, and look for damage or missing parts. For vehicle recovery equipment, match the item to your vehicle and planned terrain rather than choosing the cheapest option without checking that it’s suitable.
Keep the kit light as it grows. Weigh each new item against how often you’ll use it, its packed size and whether another piece of gear already does the job. Buy gradually, record each purchase and let your road-trip experience guide what to add next.
3. Camp lighting and portable power
Start with the lights you’ll use, not a large bundle of equipment. A headlamp keeps both hands free for pitching a tent or finding cookware. A lantern can light a shared table, while a small torch suits quick trips between the vehicle and campsite. Choose gear that packs neatly and has controls you can use easily after dark.
Match portable power to the devices you actually bring. List each one, such as a phone, camera or rechargeable headlamp, and check its charging requirements. A power bank may cover small devices, while a larger portable power station may suit several devices or longer stays. Capacity, output and charging options matter more than choosing the biggest-looking unit.
Estimate your needs from device labels and typical use. A phone used for maps and photos needs charging more often than one kept mostly idle. Bring the right cable for each device and keep the cables in a labelled pouch. This simple step prevents a full battery pack from being useless because the right cable stayed at home.
Plan how you’ll recharge. A vehicle outlet can suit short touring stops, while a solar panel may help at a sunny campsite. The right option depends on where you park, how long you stay and which devices you need to power. Test your setup at home by charging your phone and lights before packing for your trip.
Store lighting and power separately from recovery essentials. Keep a headlamp easy to reach and secure heavier power gear low in the vehicle. Avoid duplicate lights or chargers unless different people need their own. After each trip, note which devices ran flat and which stayed unused. That record helps you adjust your kit without carrying gear that adds weight but solves no real need.
When using a portable stove, pack extra gas canisters for longer trips. Before lighting a fire on a hike, check local fire restrictions.
4. Food storage and drinking water
Plan food around your route, cooking setup and opportunities to restock. For a short stop, shelf-stable meals can reduce the need for chilled storage. If you’re carrying fresh food, pack only what fits securely in your cooler or fridge. Group ingredients by meal in reusable containers, and keep utensils nearby to avoid unpacking the whole vehicle at camp.
Water needs a separate plan. Carry at least 10 litres of emergency water per person, then account for drinking, cooking and the chance of delays. A labelled container makes it easier to track your reserve. Keep drinking water apart from cleaning supplies, and make sure the container is easy to reach without shifting heavy touring gear.
For remote trips in Western Australia, carry water in 10-20-litre containers and refill whenever possible. Smaller containers can be easier to lift and pour; larger ones may mean fewer separate containers to secure. Choose a setup that fits your vehicle and the route. Treat the emergency reserve as separate from water you expect to use for meals.
A cooler or 12-volt fridge can help keep perishable food fresh on an off-road trip. Choose its size to suit the available vehicle space and power capacity. Measure the storage area before packing, and leave room for ventilation and access. A fridge that blocks other essentials or draws more power than your setup can support adds weight without being practical.
Pack food and water low, secure and within reach. Place heavier water containers where they can’t roll, and keep daily snacks in a smaller bag. Before departure, check lids, seals and straps, then arrange meals in the order you’ll use them. This makes camp setup quicker and helps you spot when supplies need replenishing.
Off-road travellers should carry enough water to stay hydrated, particularly in arid environments. Reassess how much is available as the route and conditions change, and keep reserve water accessible so you can use it when needed.
For a day hike, pack at least one extra meal of no-cook, high-energy snacks, which can provide a practical backup if plans shift. A cooler or 12V fridge should be chosen to suit the vehicle’s available space and power capacity, leaving room for other essentials and keeping food storage compatible with the rest of the setup.
Cheap Vacations America: Travel gear recommendations
Cheap Vacations America shares travel gear recommendations to help you compare practical options for your next trip. Use them to weigh up which items suit your plans and avoid filling your vehicle with extras.
Start with the trip you have in mind. Consider your vehicle’s available space, the conditions you expect and the equipment you already own. Then use the recommendations to narrow your options and focus on gear with a clear purpose.
Explore Cheap Vacations America’s travel gear recommendations to find options that suit your plans.
Make your next trip the test run
Let your next drive show you what deserves a place in your kit. Try a short overnight trip before buying more equipment. Notice what’s awkward to pack, what you reach for first and what stays untouched. Those notes can guide your next purchase better than a long wish list. The aim isn’t to own every piece of cheap road trip gear, but to carry items that suit the way you travel.
Then choose a destination that fits your plans and budget. Cheap Vacations America offers travel destination guides and low-budget destination ideas to help you explore options for a future getaway. Use them to plan around the places you want to visit, not just the equipment in your vehicle.
For help planning your next budget-minded getaway, contact Cheap Vacations America. Take it one trip at a time, and make room for more adventures as your kit grows.
Frequently Asked Questions
How do I manage weight distribution with all this gear?
Spread heavy items across the vehicle instead of loading one side or corner. For example, avoid storing water containers, the fridge and recovery equipment together in one area. Keep frequently used items accessible, so you don’t have to unload the car at every stop. Once packed, check that loose gear can’t shift during travel, then adjust the load if an area feels crowded or unbalanced.
What’s the minimum budget I should set aside for essential gear?
That range covers the broader setup, not just shelter and cooking gear. To keep your first outlay focused, list what you need for your next trip, use suitable gear you already own and add vehicle upgrades only when your route calls for them.