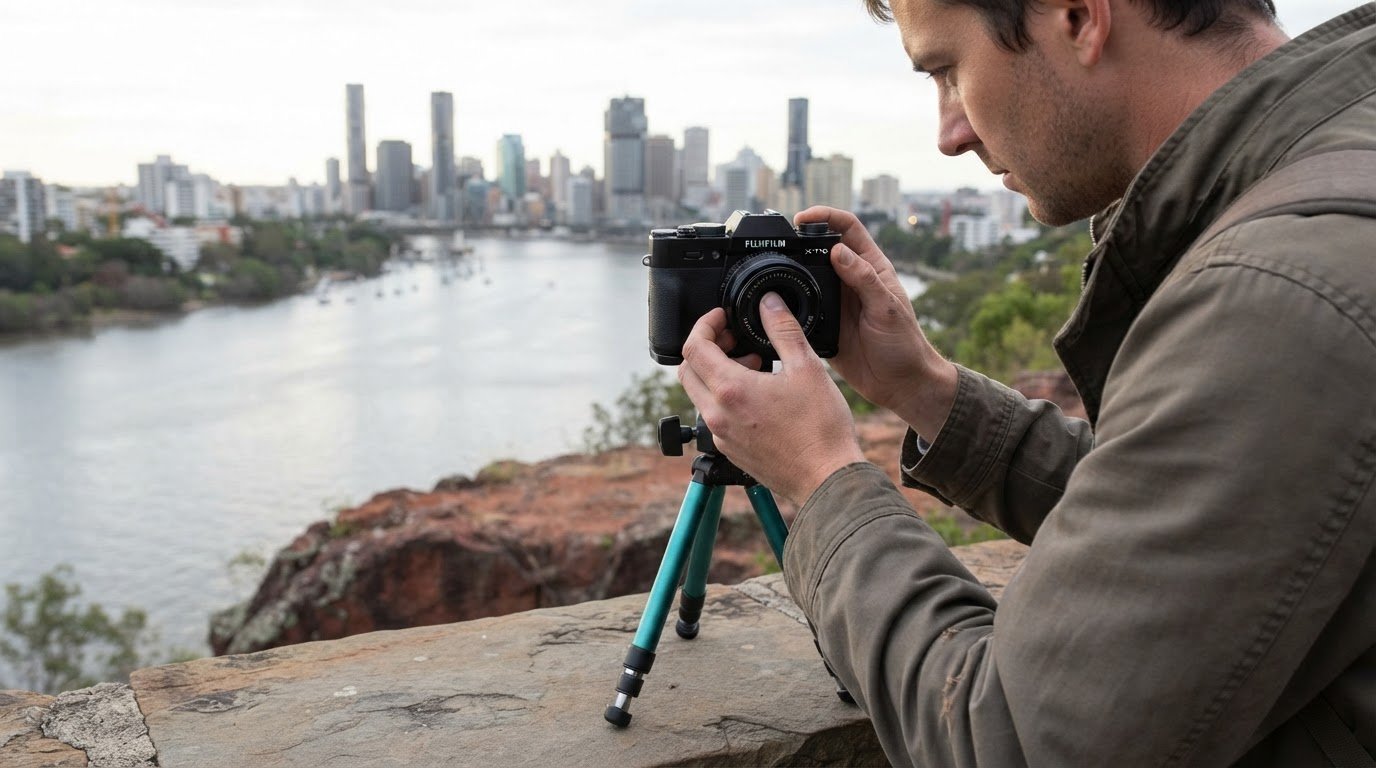
The smartest camera upgrade may be the gear you don’t buy. Choosing budget travel camera equipment means covering the shots you want without paying for features you won’t use. There’s no useful total for every traveller: a compact setup and a kit with several lenses cost different amounts. Start with the camera and lens you need, then add extras that suit the way you plan to shoot.
It’s easy to assume better photos require a newer camera or an expensive lens. But a balanced kit can leave more room in your budget for the trip itself. Older equipment may still suit your needs, and a tripod or small accessory can be more useful than an upgrade you rarely use.
This guide explains what shapes the cost of a travel camera kit, how to choose between buying, using older gear or renting, and which tripod and accessories may earn a place in your bag. You’ll also learn how to match your equipment to your travel style, spend with purpose, carry what you’ll use and skip extras that don’t fit your plans.
Key Takeaways
- Set a camera-kit budget alongside your travel budget, then weigh gear upgrades against the trip experiences they could replace.
- Choose a phone tripod or selfie-stick tripod based on how you plan to frame and capture photos while travelling.
- Build a beginner, intermediate or fuller kit around the shots you want, rather than buying every piece of gear at once.
- Prioritise useful accessories, such as filters, memory cards and a tripod, and leave extras out if they don’t suit your shooting plans.
1. How much does it cost to build a travel camera kit like this?
Set a clear limit for budget travel camera equipment before choosing a camera. Older equipment can be two to three generations behind current models and cost about half as much. That may leave more of your available funds for the trip itself.
Look for a second-hand compact camera that suits the images you want, and prioritise working controls and a usable lens over extra features. At this budget, compare the camera’s condition and included accessories as well as its model.
Compare the complete setup with other uses for your travel budget. A camera body and lens are only the beginning; a tripod, spare batteries, memory cards and a bag can add to the total. List what you need for your planned shots, then separate essentials from optional extras. If you mainly take still images, avoid paying for equipment you won’t use for video or editing.
What should I check when buying a second-hand camera or lens? Test the camera’s buttons, screen, ports, autofocus and battery, then take sample photos. Inspect the lens glass for scratches or haze, and check that the focus and zoom move smoothly. Confirm which accessories are included before judging the overall value.
For one or two trips a year, renting is generally cheaper than buying the equipment. Compare the rental period and kit contents with your plans. A drone adds another item to budget travel camera equipment; the DJI Mini 2 weighs 249 grams, but that figure alone doesn’t represent the full kit. Keep your setup compact and give each item a planned use.
2. Phone tripods and selfie-stick tripods
A phone tripod is useful for steady group photos, low-light scenes and hands-free video. A selfie-stick tripod combines an extendable handle with fold-out legs, switching between handheld framing and a fixed position. Choose the format that suits your usual shots, not the longest feature list.
Is a smartphone camera or a dedicated budget camera better for travel photography? A smartphone suits travellers who value a pocket-sized setup, quick sharing and simple shooting. A dedicated camera may suit those who want physical controls or a separate photography tool. The better choice depends on the images you plan to make and what you’re willing to carry.
Check how the phone holder grips your device and whether it adjusts for vertical and horizontal framing. A firm clamp helps keep the phone steady for timer shots. With a compact selfie-stick tripod, test the leg spread and handle before relying on it for a group photo. If it wobbles on a flat surface, it may struggle on uneven ground.
Smartphone gimbals use motorised support to steady moving footage. They can help with walking clips, but they add weight and need charging. A basic tripod is simpler for still scenes, time-lapse shooting or video from one position. Choose a gimbal only if smooth movement matters more than keeping your backpack light.
Flexible supports can wrap around rails or branches, which helps when a standard tripod has no level surface to stand on. They’re less useful if there’s no safe, stable place to attach them. For a budget travel tripod, compare folded size, weight, leg locks and phone or camera compatibility. Check whether it fits in your pocket or backpack, and pack it where it’s easy to remove during a flight. A tripod suited to your actual setup is more useful than an accessory you leave behind.
3. Beginner, intermediate and full equipment kits
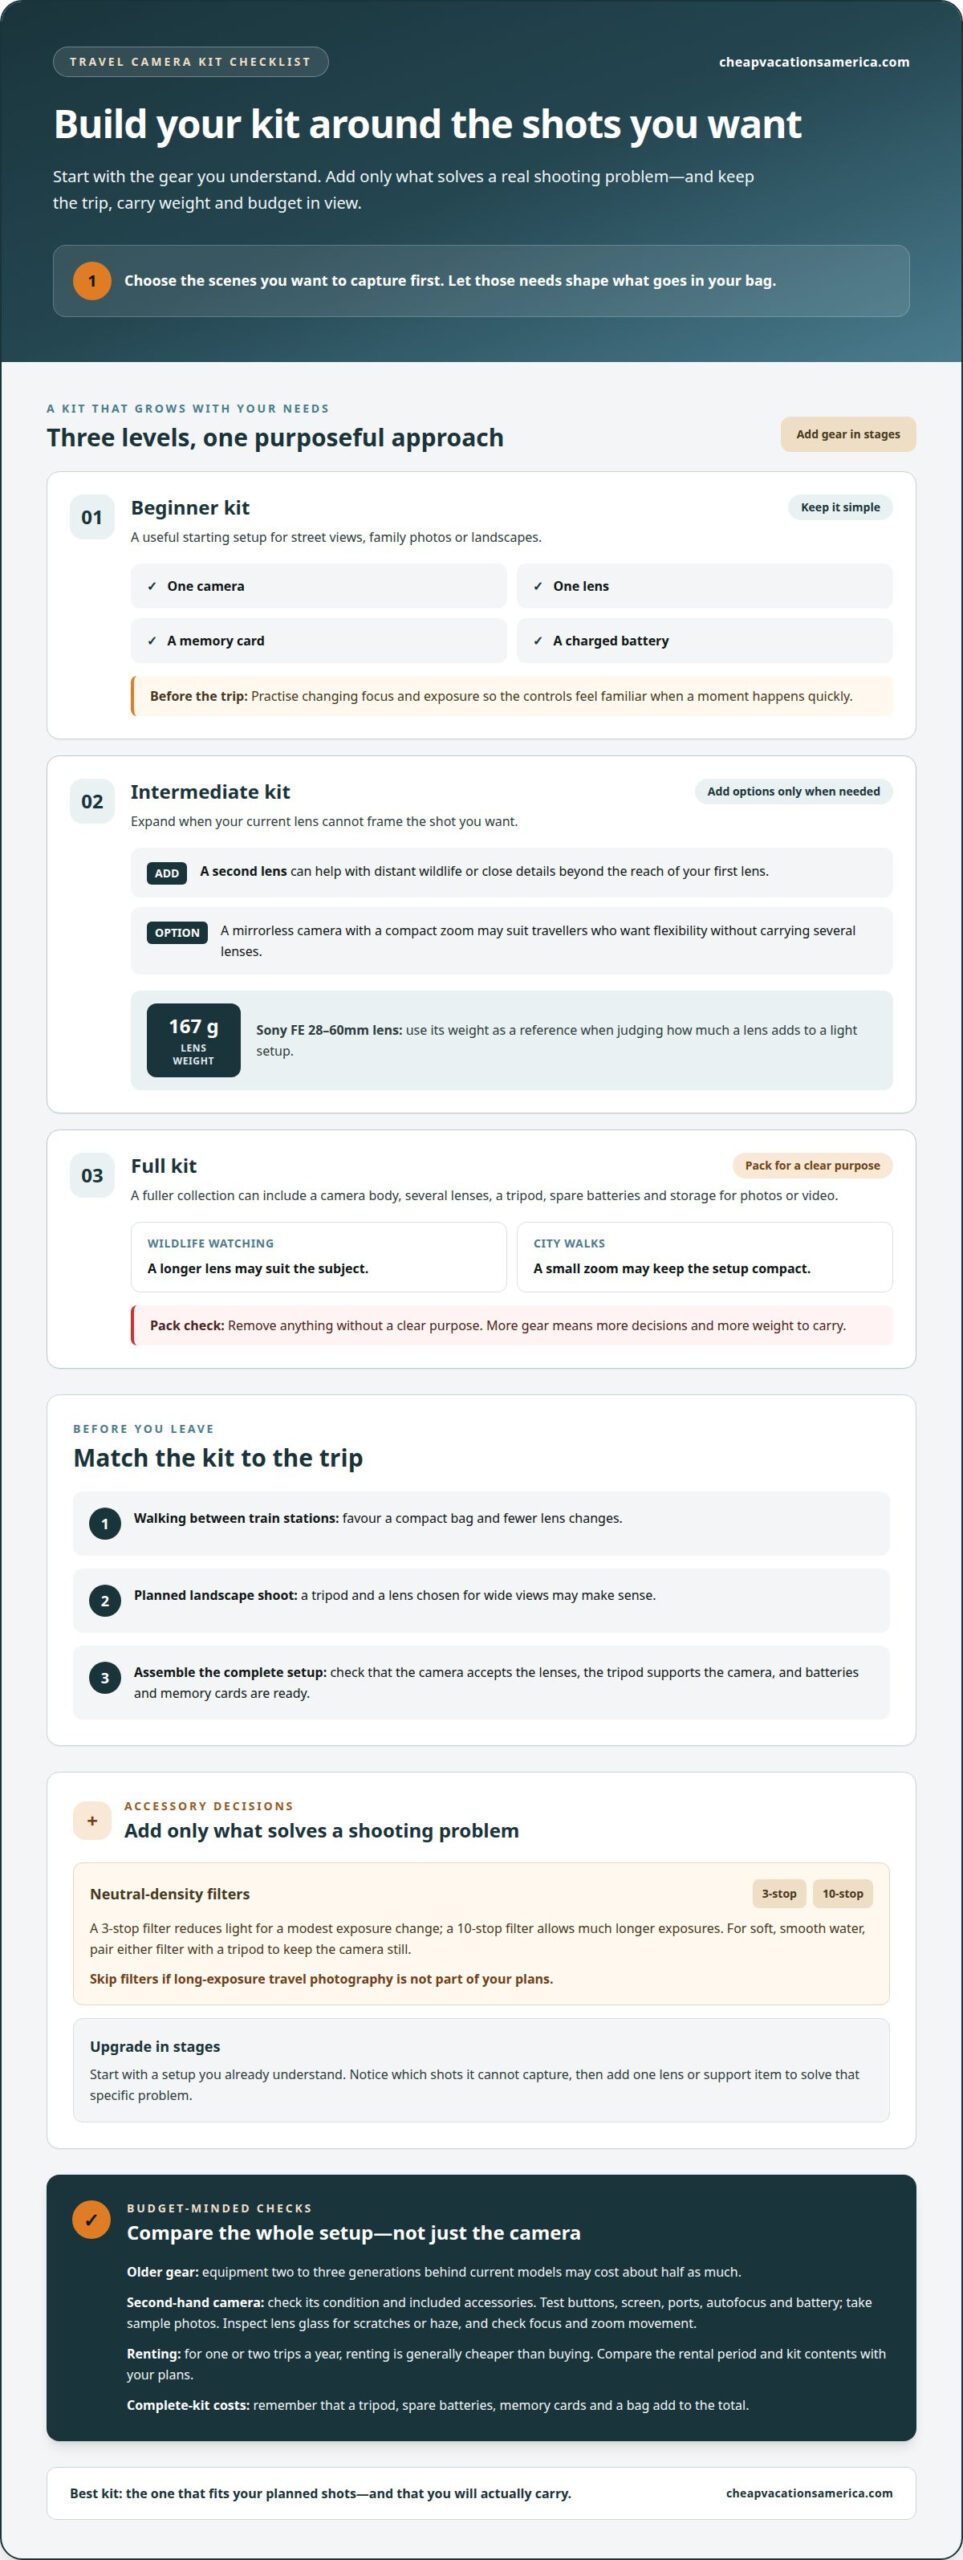
A beginner kit can stay simple: one camera, one lens, a memory card and a charged battery. Choose budget travel camera equipment by starting with the scenes you want to capture, such as street views, family photos or landscapes. Practise changing focus and exposure before your trip. Familiar controls make it easier to react when a moment happens quickly.
An intermediate kit adds options only when your shooting needs them. For example, a second lens can help with distant wildlife or close details that your first lens cannot frame well. A mirrorless camera with a compact zoom may suit travellers who want flexibility without carrying several lenses. The Sony FE 28-60mm lens weighs 167 g, a useful reference when judging how much a lens adds to a light setup.
A full kit may include a camera body, several lenses, a tripod, spare batteries and storage for photos or video. Build it around specific needs: wildlife watching may call for a longer lens, while city walks may favour a small zoom. Add each item to a packing list, then remove anything without a clear purpose. More gear means more decisions and more weight to carry.
Match your equipment to the demands of your trip. A day walking between train stations favours a compact bag and fewer lens changes. A planned landscape shoot may justify a tripod and a lens chosen for wide views. Before leaving, assemble the complete kit and check that every part works together. Confirm that the camera accepts the lenses, the tripod supports the camera, and batteries and cards are ready.
Upgrade in stages. Start with the setup you already understand, then note which shots it can’t capture. Add one lens or support item to solve that specific problem. This keeps your budget travel camera equipment purposeful, whether you’re building a beginner kit, refining an intermediate setup or packing a fuller collection.
4. Budget travel camera accessories
Choose accessories that solve a clear shooting problem. A 3-stop neutral-density filter reduces light for a modest exposure change; a 10-stop filter allows much longer exposures. For soft, smooth water, pair either filter with a tripod to keep the camera still. Leave filters behind if long-exposure travel photography isn’t part of your plans.
What affordable lenses are best for travel photography, and how much do they cost in Australia? A compatible standard zoom is a practical starting point for varied subjects, while a compact prime can suit a lighter kit. The cost depends on the lens mount, focal range, maximum aperture and whether you buy new or second-hand.
Storage needs depend on whether you shoot RAW images, JPEGs or video, and how often you can transfer files. For 4K footage, plan for at least 128 GB of memory card capacity per camera, using cards rated U3 or V30 minimum. A card reader can make transfers easier; one photographer reports using an iPhone SD card reader for RAW photos for five years.
How much storage and battery life do travel cameras need for a week-long trip? Base storage on your photo and video habits, then transfer files regularly to free up card space. Battery needs depend on shooting frequency, screen use and camera settings, so carry a compatible, charged spare if your days involve extended camera use.
Keep the final camera gear list short: filters for planned effects, a stable tripod, suitable cards and a way to transfer images. The best accessory is the one that gets used, not one that remains in your bag. If your travel plans have changed, explore low-budget destination guides and choose a trip that fits your budget and photography interests.
Cheap Vacations America
Cheap Vacations America helps you plan affordable travel around Australia, so your camera budget can fit the trip rather than compete with it. Its destination guides cover low-budget destinations and budget-friendly Australian cities, with recommendations for hotels and hostels. Explore them when weighing where to go and matching your plans to the gear you’ll actually carry.
A city break, for example, may suit a compact camera setup, while a trip centred on outdoor scenes could shape which lenses and accessories make sense. Compare destinations and travel costs before adding equipment to your kit. Your choices can support the experience you want without letting extra gear take over the budget.
Contact Cheap Vacations America to discuss your budget travel plans.
Make your next trip the guide
Your next trip can shape your camera choices more clearly than a list of features. Choose a destination for the scenes you want to capture, then let that plan guide what you carry and what stays at home. A kit should support the way you want to travel, not turn every outing into a gear checklist. Leave room in your plans for the unexpected, too. A simple setup can make it easier to enjoy the moment and take photos when something catches your eye.
Use the same practical approach for choosing where to go. Cheap Vacations America features low-budget destinations, budget-friendly US cities and travel destination guides. These options can help you explore possible trips before deciding what kind of photography setup suits them. For a starting point that fits your travel plans, contact Cheap Vacations America today and take the next step towards a trip that feels achievable.
Frequently Asked Questions
How do you cut the bill without sacrificing quality?
Match each purchase to a photo you genuinely plan to take. Before shopping, write a short shot list, such as night streets, family portraits or landscapes, then identify which gear addresses a real limitation. With budget travel camera equipment, results also depend on using the camera well. Practise with your setup before departure, and spend on the feature that improves your most important shots.
How much does it cost to build a travel camera kit like this?
There’s no single total because the camera body, lens choice and accessories shape the overall spend. To set a useful limit, budget for the trip first, then decide what remains for gear. Compare complete setups rather than body-only prices. Include the charger, compatible battery and storage you’ll need, so the camera’s advertised cost doesn’t hide necessary additions.
What budget camera accessories are essential for travel: spare batteries, memory cards, tripod and bag?
Choose accessories around your longest day of shooting. A spare compatible battery helps when charging isn’t convenient, while a memory card should match your camera and intended file types. Use a tripod for scenes that need a fixed camera position. Pick a bag that protects the camera and lens from knocks, separates small items and stays comfortable throughout a full day out.