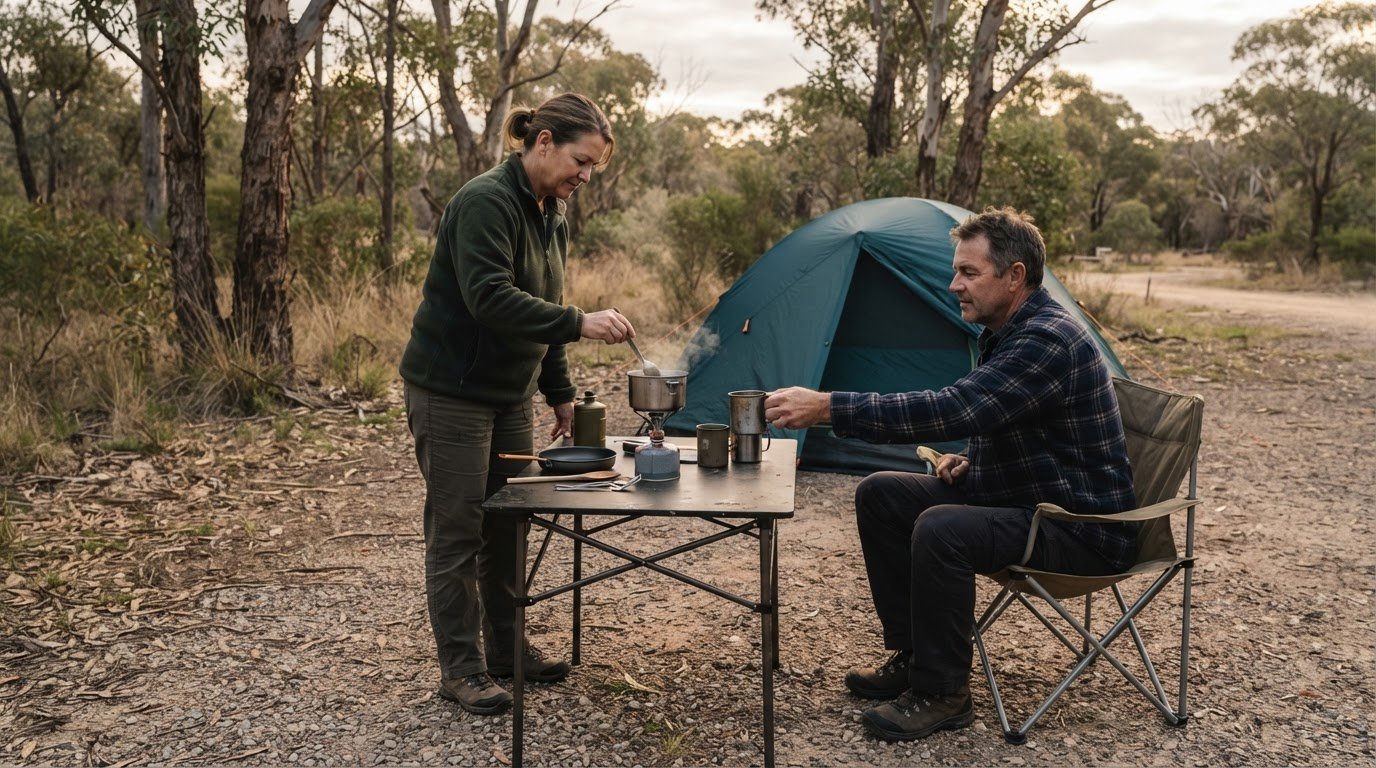
A costly camp chair isn’t automatically the smartest upgrade. For a basic camping trip, prioritise a suitable tent or swag, a sleep setup, a stove and fuel, simple cookware, and a comfortable place to sit. These budget camping gear recommendations focus on useful essentials that won’t stretch your budget.
Spending more on gear doesn’t guarantee the right setup for your trip. Match each choice to your destination, weather, group and travel style. Prioritise shelter, warmth and reliable cooking, then save on extras you can do without.
Learn what to pack first, what to look for in cooking equipment, and how to weigh tent and swag features against comfort and cost. We’ll also cover affordable pots, pans and utensils, and when a basic camp chair is enough. Use this guide to build a practical kit for camping in Australia, one useful choice at a time.
Key Takeaways
- Choose a sleeping bag for the coldest conditions you expect, and weigh insulation type against pack size and comfort.
- Match your stove and fuel to the meals you plan to cook, and handle canisters with care in hot weather.
- Compare tent weather protection and packed weight with your trip needs, then plan water storage that suits your route.
- Keep cookware simple: a basic pot, pan and eating kit can cover camp meals without adding unnecessary gear.
1. What camping gear do you actually need?
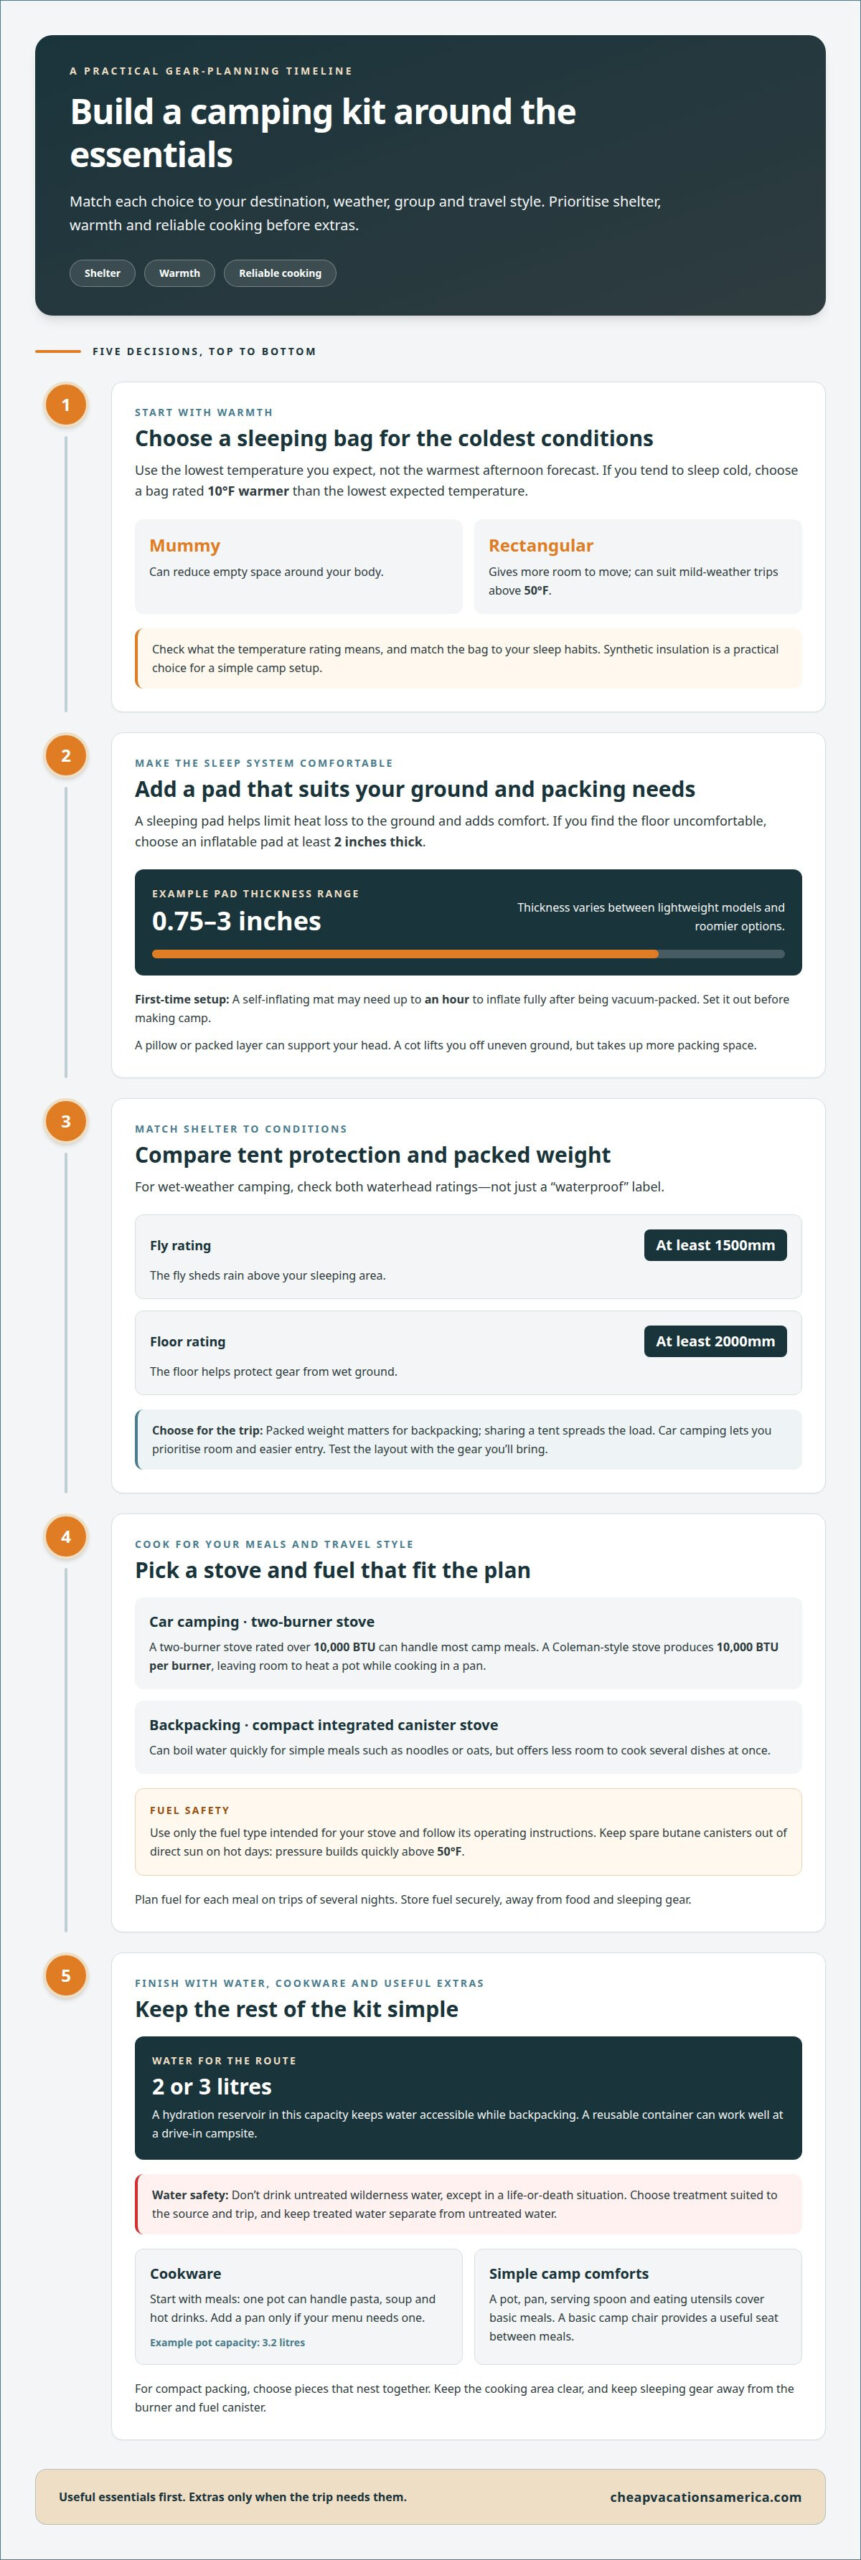
Build your sleeping setup around the lowest temperature you expect, not the warmest afternoon forecast. A mummy shape can reduce empty space around your body. A rectangular bag gives you more room to move and can suit mild-weather trips when temperatures stay above 50 degrees Fahrenheit. Good budget camping gear recommendations begin with matching your bag to the conditions.
Check what a temperature rating means before choosing a bag. If you tend to sleep cold, choose a bag rated 10 degrees warmer than the lowest expected temperature. Synthetic insulation is a practical choice for a simple camp setup. The Kings Hooded Sleeping Bag, for example, has a -2°C rating. Match the bag to the forecast and your sleep habits rather than relying on its label alone. These budget camping gear recommendations keep warmth ahead of extra features.
A sleeping pad helps limit heat loss to the ground and adds comfort. For an uncomfortable floor sleeper, choose an inflatable pad at least two inches thick. Pads in the 0.75–3-inch range show how thickness can vary between lightweight models and roomier options. A self-inflating mat may need up to an hour to inflate fully the first time after being vacuum-packed, so set it out before making camp.
Keep the rest of your sleep system simple: add a pillow or use a packed layer for head support. A cot can lift you off uneven ground, but it takes up more packing space. For car camping, combine a sleeping bag, pad and blanket to suit the expected conditions. Keep sleeping gear separate from the kitchen, burner and fuel canister, and don’t rely on a campfire to make an unsuitable sleeping bag warm enough.
How do budget camping gear brands compare for durability and warranty? Look at practical details such as fabric, stitching and zip construction, then read the warranty terms for the specific model. A low price alone won’t tell you how well a sleeping bag will hold up.
2. Cooking gear: what’s safest and most practical?
Choose a stove around your usual meals, group size and transport. A two-burner camping stove rated over 10,000 BTU can handle most camp meals. A Coleman-style stove produces 10,000 BTU per burner, giving you room to heat a pot while cooking in a pan. That setup suits car camping, where a packed stove and larger fuel canister are manageable.
For backpacking, a compact integrated canister stove can boil water quickly. It suits simple meals such as noodles or oats, but leaves less room to cook several dishes at once. You don’t need to start with an expensive specialist stove. Choose a burner that suits your favourite camp meals, then pack the right pot, utensils and fuel.
Match fuel to the stove. Butane canisters are portable, while a refillable propane tank can suit car camping. Use only the fuel type intended for your stove, and follow its operating instructions. On hot days, keep spare butane canisters out of direct sun. Pressure builds quickly above 50 degrees, so don’t leave them sitting in sunlight beside your cooking area.
Keep the cooking kit lean: a pot, pan, serving spoon and eating utensils cover basic meals. Store fuel securely, away from food and sleeping gear. A simple camp chair provides a useful seat between meals without requiring a large table. For trips of several nights, plan fuel for each meal instead of carrying extras without a purpose. A battery-powered lantern can light the cooking area, while your mattress belongs in the sleeping setup, well away from the stove.
3. Tents and swags: what should you spend?
For wet-weather camping, compare a tent’s waterhead ratings before paying for extra features. A fly rating of at least 1500mm and a floor rating of at least 2000mm are useful benchmarks. The fly sheds rain above your sleeping area, while the floor helps protect gear from wet ground. Check both figures, not just a label describing the tent as waterproof.
For backpacking, packed weight matters as much as floor space. Sharing a tent spreads the load, while car camping lets you prioritise room and easier entry. Test the layout with the kit you’ll actually bring: sleeping bags, a headlamp, boots and space to change. A durable floor and sound seams are more useful than extra space you won’t use.
Plan drinking water alongside shelter. For backpacking, a hydration reservoir holding 2 or 3 litres keeps water accessible while moving. A reusable container works well at a drive-in campsite, especially for coffee, meals and washing. The LifeStraw Peak Gravity filter has a 3-litre reservoir bag, giving you a named example of a storage-and-filter setup. Keep treated water separate from untreated water.
Don’t drink untreated wilderness water, except in a life-or-death situation. Choose a filter or treatment method suited to the water source and your trip plan. Pack enough storage for the time between refill points, and keep food and water containers away from cooking areas. A cooler can help keep food cold. One setup described keeps food chilled for roughly five days before needing fresh ice, but that depends on the cooler and how it’s used.
On a camping trip, organise the stove and food storage, and leave a clear space for cooking. Choose containers that seal securely and are easy to carry. A basic water bottle may suit a short walk, while a reservoir and larger camp container meet different needs. Match your gear to the route, expected weather and the weight you’re willing to carry.
4. Affordable pots, pans and utensils
Start with meals, not a matching cookware set. A single pot can handle pasta, soup and hot drinks; add a pan only if your menu needs one. The GSI Outdoors Halulite pot holds 3.2 litres, a useful example of capacity to compare with your group size. For a compact backpacking kit, pack one pot, a spoon, a mug and eating utensils. Choose pieces that nest together to keep packing simple.
For group meals, cookware needs enough room to heat food without crowding the stove. A larger pot can serve several people, while a second pan lets you cook different ingredients at once. Keep the kit practical: a serving spoon, spatula and shared washing container cover basic camp kitchen tasks. At a car campsite, extra weight matters less, so a sturdier pot and separate plates can make meals easier.
Match cookware to your shelter and trip style. A car-camping tent gives you more space to organise food, chairs and a lantern, while backpacking calls for compact gear. Store clean cookware away from the cooler and raw food. Dry each piece before packing to limit trapped moisture, and use utensils suited to the pot’s surface to reduce scratches.
Weather also affects how you plan camp meals. A hot drink or one-pot dinner takes less equipment than a meal requiring several pans. Keep handles turned away from the stove flame, and place cookware on a stable surface. Don’t use a pot over a campfire unless it’s designed for that heat. A simple, durable kit leaves more room for insulation and other essentials on your next adventure.
Planning a US camping trip? Explore low-priced camping and RV facilities to help choose a place that fits your travel plans.
Cheap Vacations America: Lowest priced U S camping and RV facilities
For Australian travellers planning a camping trip in the United States, Cheap Vacations America recommends lower-priced US camping and RV facilities. Its travel gear recommendations and destination guides can help you plan a kit for your trip and narrow down where to go.
Use its low-budget destination ideas to plan your US itinerary from Australia. Contact Cheap Vacations America to discuss your travel plans.
Choose your next camping destination
Let the trip shape your gear choices. A short drive-in stay calls for a different setup than a route with long walks between campsites. Before adding equipment, decide where you want to go, how you’ll get there and what kind of nights to expect. That gives these budget camping gear recommendations a practical purpose: helping you prepare for a real trip, not build a kit for every possibility.
For travel ideas in the United States, explore Cheap Vacations America’s low-budget destinations, travel guides and budget-friendly city recommendations. Use them to choose a destination that fits your plans, then shape your camping setup around the trip.
Contact Cheap Vacations America to discuss your travel plans. Pick a place that suits your style, pack with purpose and enjoy the adventure ahead.
Frequently Asked Questions
Camping chairs: are expensive ones worth it?
Not always. Pay more only if a chair’s support, frame or folding design solves a real problem for your trips. If you’ll sit for long periods, compare seat height, back support and packed size before choosing. Extra features matter less if the chair is uncomfortable or awkward to transport.
Cooking gear: what’s safest and most practical?
Use a stove with its intended fuel and follow its operating instructions. Choose a setup that suits the meals you plan, rather than packing equipment for every possibility. For porridge, soup and coffee, a simple pot can cover several meals. A menu that needs separate pans may call for more cooking space. Store fuel securely and organise food away from the stove.
Lighting: what works best at camp?
A headlamp is handy for tasks that need both hands, such as setting up a tent or finding gear after dark. A lantern works better for shared light around a table or campsite. For a practical setup, pack one personal light and one area light. Match the battery type to your trip, and keep the light you’ll need first easy to reach.
Tents and swags: what should you spend?
Choose a tent based on how you’ll travel and how much room you need inside. A car camper can prioritise easy entry and space for bags, while a walker benefits from a lighter, simpler shelter. Practise pitching your tent before leaving so you know how the poles and fly fit together. This can reveal missing parts or a confusing setup before your trip.
What camping gear do you actually need?
Start with gear for sleeping, shelter, drinking water, cooking and basic lighting. Then tailor the extras to your trip. A drive-in campsite can accommodate a chair or larger kitchen kit, while a walking trip rewards lighter packing. Lay everything out before departure and remove items that serve no clear purpose. Keep your kit focused on the adventure ahead.