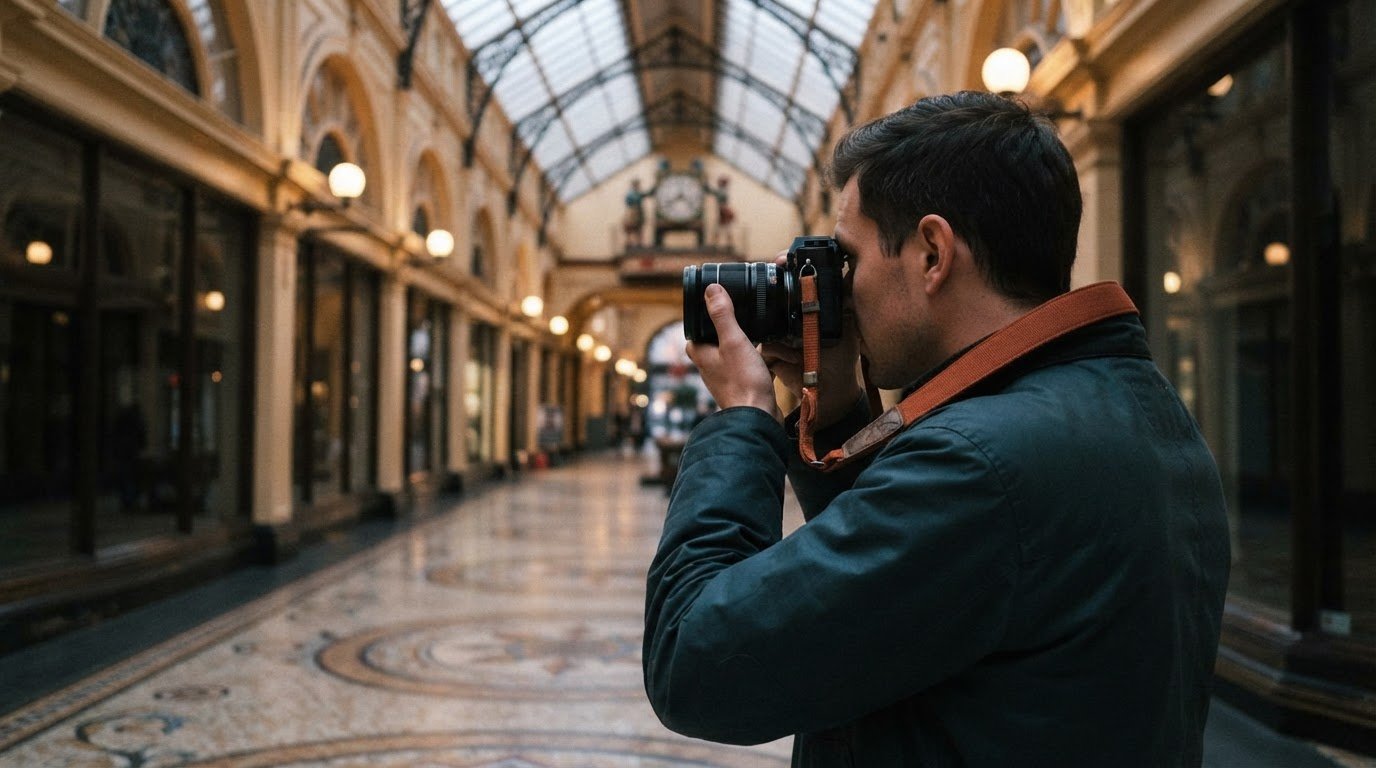
A prime lens may suit travel photography if you value a simple setup, while zooms offer more framing flexibility. It has one fixed focal length, so you move closer or farther to frame a shot. For travel photography gear, pair a lens that suits your usual subjects with a light camera setup; a wide aperture, such as f/1.4, can also help in low light.
You might think a zoom is the safest choice for travel photography gear. It’s flexible, but a prime lens can be smaller and gives you a clear way to practise framing. The right kit depends on what you want to photograph and how much weight you’re comfortable carrying.
This guide compares wide-angle, standard zoom and telephoto lenses, and explains what to consider before taking a drone. You’ll also find practical ways to steady handheld shots indoors or at night, plus gear ideas that can make a travel kit easier to carry.
Key Takeaways
- Choose lenses around the scenes you shoot most, balancing focal range, aperture and the weight you’ll carry.
- Keep a travel tripod practical to pack and steady enough for the shots you want.
- Compare drone options by their weight and intended use, then account for Australian rules before flying.
- For handheld night and indoor photos, use image stabilisation and a wide-aperture lens to help manage low light.
1. What’s New for Travel Camera Gear in 2026?
Travel tripods now balance packability with stability. For hiking, treat 1.5 kg as a guide to excessive tripod weight, and look for legs that fit inside a regular backpack. A compact tripod is easier to carry on your shoulder, but it still needs a firm base and secure leg locks for sharp images. Set it on stable ground, spread the legs fully, and avoid extending the centre column unless framing requires it.
Small accessories can make a lightweight setup more useful. A phone mount lets one tripod hold a phone instead of a camera, while a clip keeps a small accessory close at hand. Flexible tripods can wrap around suitable supports, but check that the legs grip firmly before shooting. On uneven ground, a standard travel tripod is often steadier.
Filters also affect tripod use. A three-stop neutral-density filter reduces light for slower shutter speeds, while a 10-stop filter allows much longer exposures. Fit the filter securely, compose the image, then use a tripod to reduce camera shake. For a landscape, this can smooth moving water while keeping rocks and other fixed details sharp.
Should I buy or rent travel photography gear in Australia? Buy items you’ll use often, such as a camera or everyday lens. Renting may suit a specialised item you need for one trip. Decide based on how often you’ll use it and how easily it fits your itinerary.
Can camera batteries and photography gear go in carry-on luggage on Australian airlines? Camera bodies and lenses can be packed in carry-on luggage, subject to your airline’s baggage conditions. Spare camera batteries under 100 Wh can be carried in quantities considered reasonable for personal use.
What are the airline rules for carrying camera gear and lithium batteries from Australia? Pack spare lithium batteries in your carry-on and protect them from damage or contact with metal items. Battery limits and carriage conditions vary by airline and battery type.
What is a good travel photography gear setup for beginners on a budget? Start with a camera, one versatile lens, a spare battery and a compact tripod. Add a phone mount only if you plan to use your phone for photos.
How can I pack travel photography gear safely and stay within airline baggage limits? Cushion your camera and lenses in a camera bag, secure loose filters and protect batteries. Weigh the packed bag and compare it with your airline’s current allowance before you leave.
2. Wide-angle, standard zoom and telephoto lenses
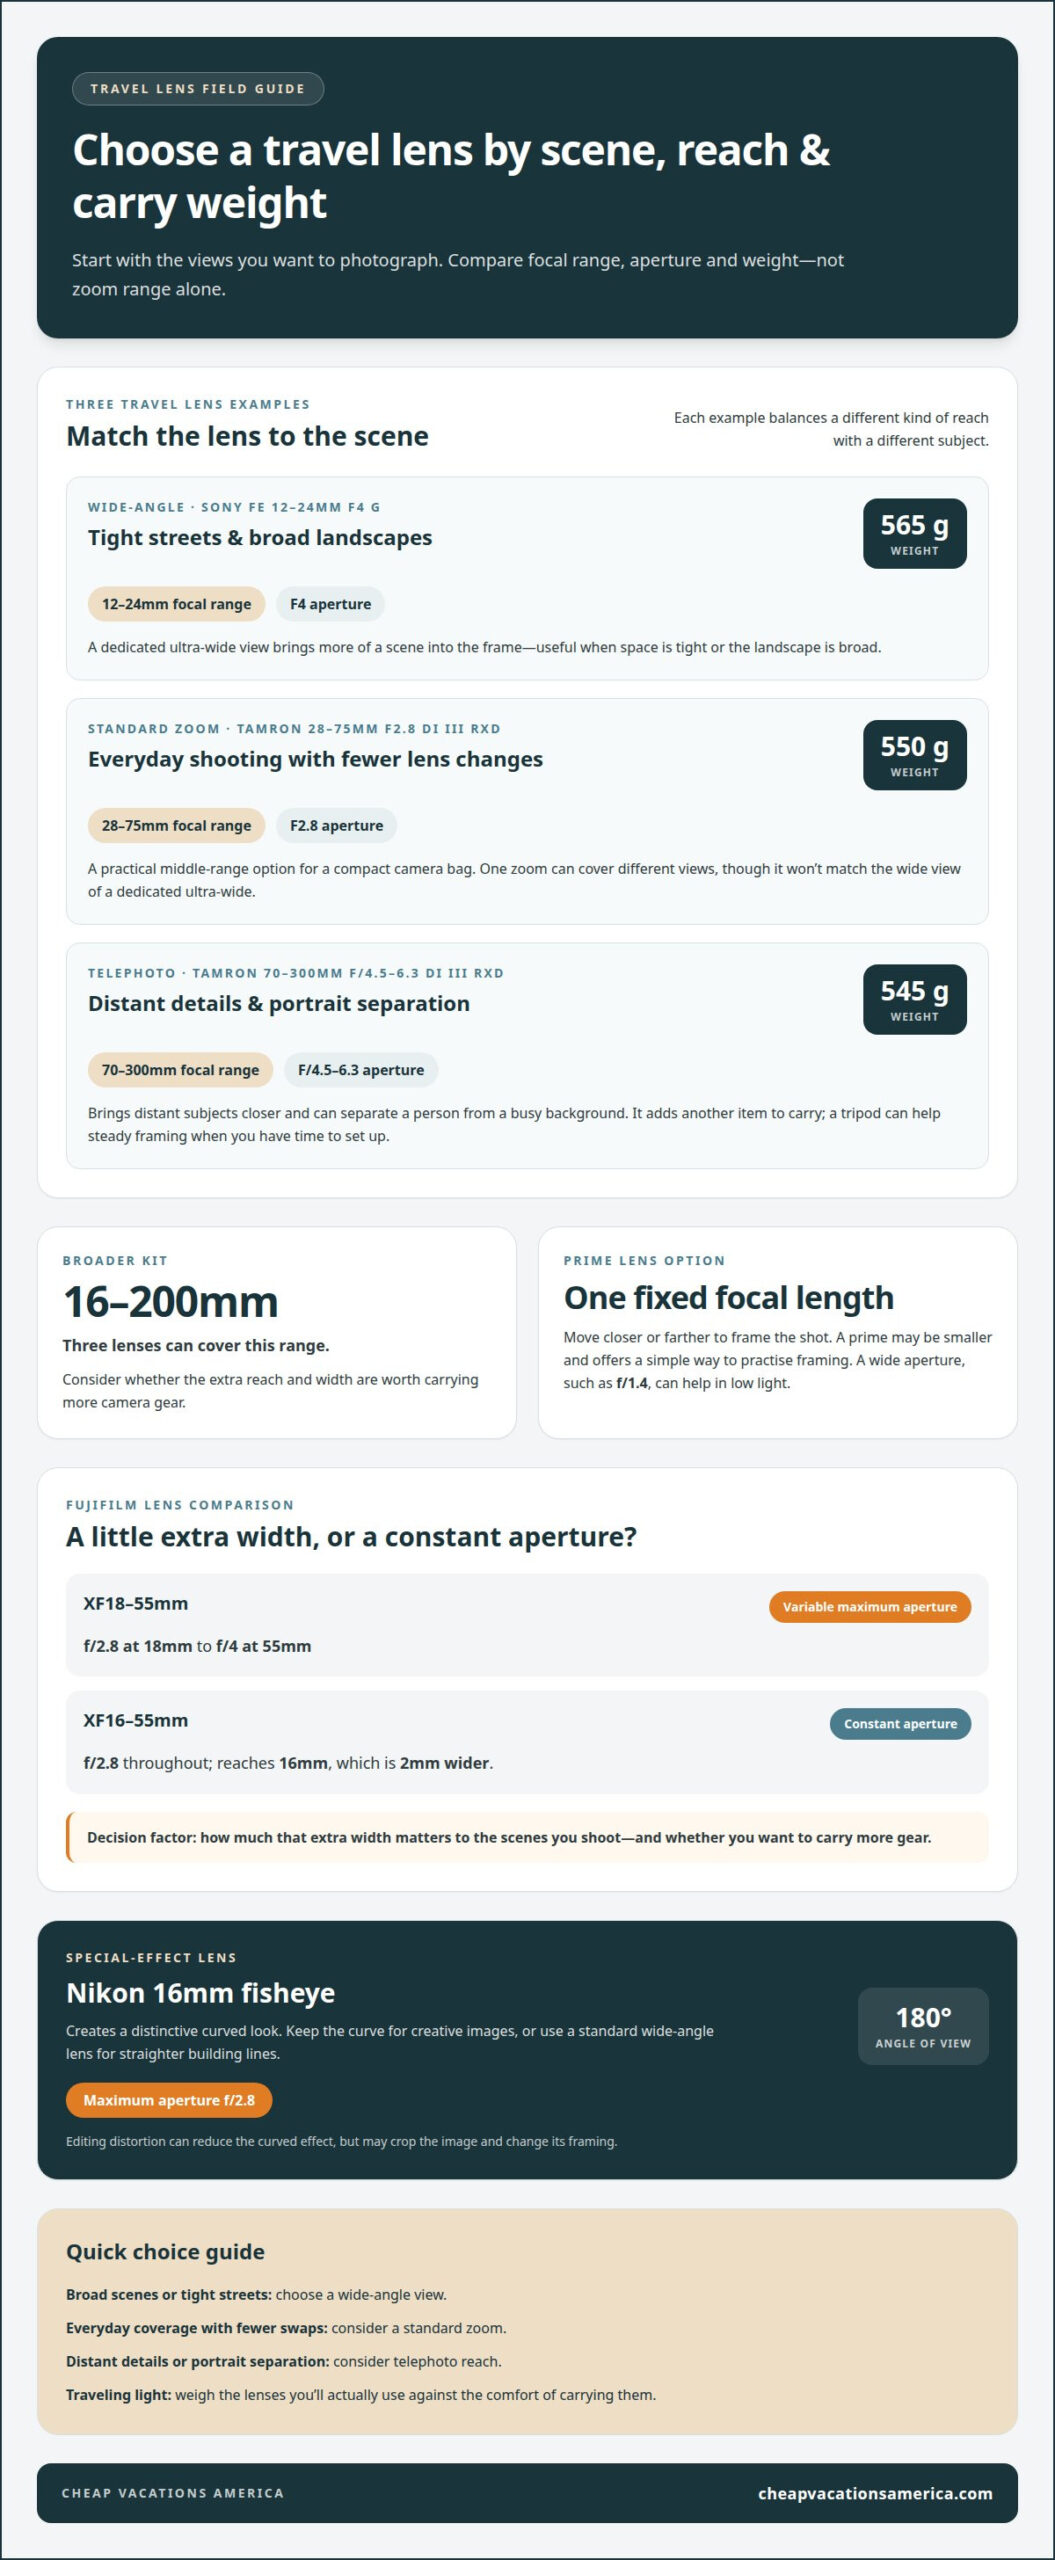
Choose lenses by the scenes you want to capture, not by the largest zoom range. An ultra-wide Sony FE 12-24mm F4 G weighs 565 g and suits tight streets or broad landscapes. For a compact camera bag, a standard zoom can cover everyday shooting without frequent lens changes. The Tamron 28-75mm F2.8 Di III RXD weighs 550 g, making it a practical middle-range example.
A telephoto lens brings distant details closer, but adds another item to carry. The Tamron 70-300mm F/4.5-6.3 Di III RXD weighs 545 g. Pair it with a tripod for steady framing when you have time to set up. A single zoom lens can be a convenient option when you want to cover a range of views without changing lenses. That range can reduce lens swaps, though it won’t give the same wide view as a dedicated ultra-wide.
For a broader kit, three lenses can cover 16-200mm. Fujifilm users can compare the XF18-55mm, which has a variable maximum aperture from f/2.8 at 18mm to f/4 at 55mm, with the XF16-55mm’s constant f/2.8 aperture. The latter reaches 16mm, 2mm wider. Consider how much that extra width matters before carrying more camera gear.
Fisheye lenses create a special, curved look. Nikon’s 16mm fisheye provides a 180-degree angle of view and a maximum aperture of f2.8. Distortion correction in editing can reduce the curved effect, but may crop the image and change its framing. Keep the curve for creative images, or use a standard wide-angle lens for straighter building lines.
For portraits, a telephoto lens can help separate a person from a busy background. A wide-angle lens includes more surroundings, which works well for travel scenes but can stretch faces near the edges. Before hiking, check that your chosen lenses fit comfortably over your shoulder. Use destination guides for planning photo stops around the views you want to photograph.
3. Travel drones
Aerial photography drones add overhead views that a camera on the ground can’t capture. The DJI Mini 3 Pro weighs less than 249g, making it a lightweight option for a backpack. The DJI Mini 5 Pro weighs 252 g. That small weight difference may matter on a long walk, but weight alone doesn’t decide which drone suits your trip.
Think about your subject before choosing a drone. A coastline may call for a wide view, while a winding road might look stronger from above. Plan the shot from the ground first: choose the subject, decide where it should sit in the frame, then position the drone. This helps you avoid flying without a clear image in mind.
When planning a travel setup, consider the drone’s weight along with its controller and other camera gear. Pack it in a padded backpack compartment, and secure the controller and spare accessories separately. A small pocket can hold cables or a memory card, but keep loose items away from the propellers. A compact kit is easier to carry between stops.
Use the controller screen to check your framing before shooting. Keep the main subject clear of distracting edges and leave space around it for cropping later. If the light changes quickly, adjust your position and composition first. That may be faster than trying to fix a poorly framed image during editing.
Before flying in Australia, check the local rules and restrictions for your location. A permitted launch area, clear surroundings and a planned landing spot help make each flight more considered. Avoid treating a lightweight model as permission to fly anywhere. The DJI Mini 3 Pro’s weight is less than 249g, while the DJI Mini 5 Pro weighs 252 g, but location rules still matter. Pack only a drone you expect to use; otherwise, its weight becomes an extra addition to your travel load.
4. Handheld low-light, night and indoor travel photography
Handheld night shots need a balance between light, sharpness and image noise. Start by opening the lens aperture to let more light reach the sensor. The Fujinon XF35mm F1.4 R has an f/1.4 aperture, useful for dim streets or indoor scenes. A wide setting can help keep shutter speeds faster, though the perfect exposure depends on the available light and moving subject.
Next, raise ISO if the image remains too dark. Higher ISO can reveal detail, but may add visible noise. Most consumer and prosumer DSLR cameras have a maximum usable ISO of around 1600. One photographer reported using ISO 25000-50000 for handheld photos in a dark underground setting. Treat that as an example, then review your own camera’s results at different settings.
Image stabilisation can reduce blur from small hand movements. The Sony A7RII has 5-axis image stabilisation, as does the Olympus OM-D E-M10 Mark IV. Hold the camera with both hands, tuck your elbows in, and lean against a stable wall or doorway. These steps help during a quiet indoor scene, but they won’t freeze a moving person.
For a night landscape, find a steady stance and keep your breathing calm as you press the shutter. The Nikon D4S has a maximum ISO of over 400,000, but a high setting doesn’t remove the need to check noise and focus. Take a test image, inspect details on the screen, then adjust exposure before carrying on. Night scenes can still be worth capturing after dark, especially when you steady your camera and choose a clear subject.
A lightweight kit makes it easier to keep shooting after dark. Prioritise a camera with stabilisation or a bright lens, rather than carrying extra items you may not use. For a trip with evening photo stops, explore travel destination guides and plan your route around the scenes you want to capture.
Cheap Vacations America: Travel gear recommendations
Cheap Vacations America’s travel gear recommendations can help you match a camera kit to your trip. Use these guides to weigh lens choices, a compact tripod or a lightweight drone before you pack. Choose gear based on the photos you plan to take, the space in your bag and your budget.
Pair equipment planning with destination research. Travel destination guides and low-budget destination ideas can help you shape an itinerary, then decide which camera items are worth carrying. If you’re planning a US visit, guides to budget-friendly cities can help you consider locations alongside your photography plans.
For straightforward ideas on what to pack and where to go, contact Cheap Vacations America.
Plan Your Next Photo-Focused Trip
Make your next step a simple plan: choose the places you want to photograph, then decide which equipment earns space in your bag. A clear route can help you avoid carrying items that won’t suit the scenes you expect to find. Leave room for changes, too. Unexpected weather, a new walking route or a late-night view may call for a different approach. The best travel photography gear is a setup you can use comfortably throughout your trip.
Cheap Vacations America features low-budget destinations, guides to budget-friendly US cities and practical travel destination guides. Use these ideas to plan where to go and what kind of photography kit suits your trip. Whether you’re building a first kit or refining one you already own, make your next choice practical and tied to the photos you want to bring home.
Contact Cheap Vacations America today to take the next step towards a trip that fits your interests and budget.
Frequently Asked Questions
What’s new for travel camera gear in 2026?
For a 2026 kit, compare portability across your camera, tripod and drone together. A tripod with legs that fit inside a regular backpack can be easier to pack, while a 3-stop or 10-stop neutral-density filter supports different long-exposure choices. Drone weight also varies: the DJI Mini 3 Pro weighs less than 249 g, while the DJI Mini 5 Pro weighs 252 g.
What camera gear is essential for travel photography?
A useful starter kit includes a camera, one lens suited to your main subjects, spare batteries and memory cards. Add a protective camera bag and a cleaning cloth for dust or fingerprints on the road. Choose accessories to suit your itinerary: a tripod helps with still scenes, while an extra lens makes sense if your planned subjects need a different focal length.
What is the best lightweight camera for travel photography in 2026?
There isn’t one best choice for every trip. The Sony A7RII weighs 625 g with its battery included, while the Olympus OM-D E-M10 Mark IV has a 20-megapixel Micro Four Thirds sensor and 5-axis in-built image stabilisation. Compare total kit weight, including the lens and batteries, then decide whether carrying comfort or a particular camera feature matters more for your plans.
Which travel photography lenses are most versatile?
A standard zoom is a practical one-lens choice for varied days, from street scenes to portraits. If you need broader coverage, a three-lens travel kit can span 16-200mm, combining wide, everyday and telephoto views. Pick the range around your subjects: architecture may call for a wider view, while wildlife or distant details benefit from more reach.
What is the best travel tripod and how much does it cost in Australia?
The best travel tripod is one you’ll carry and can set up steadily for your planned shots. Look for packable legs, secure locks and a design suited to your camera and lens. Prices in Australia depend on the tripod’s materials, construction and features. Prioritise a manageable packed size and stability over extras you’re unlikely to use.
What camera accessories should I pack for travel photography?
Pack spare batteries, memory cards and a charger, then add accessories that match your shooting plans. A phone mount can be useful if you also take phone photos, while neutral-density filters support long exposures. Keep small items together in a pouch so they’re easy to find. For remote walks, carry only accessories you expect to use, to avoid unnecessary bag weight.